

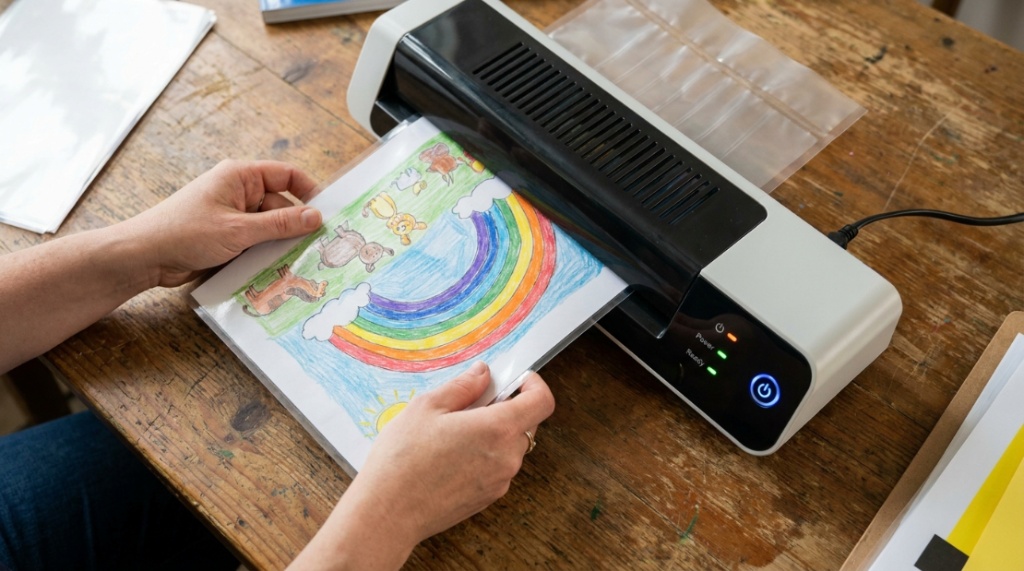
07 Sep Amazon Basics Thermal Laminating Sheets: A Practical Guide to Everyday Document Protection
You’ve just printed an important contract, a cherished family photo, or a frequently referenced reference sheet, only to watch it fall victim to coffee rings, creased corners, or fading ink within a week. It’s frustrating when documents don’t last as long as you need them to. The solution isn’t a fancy, expensive office machine—it’s finding reliable, everyday laminating pouches that protect your work without complicating your life. In this guide, we’ll break down everything you need to know about Amazon Basics thermal laminating sheets, from how they work to what they’re actually good for, so you can decide if they’re the right fit for your home office, classroom, or small business.
Key Takeaways
- Heat is essential: These are thermal laminating pouches, meaning they require a heated laminator machine to activate the adhesive and seal your document. They don’t work with cold-pressure or pouch-free systems.
- Match the pouch to the job: Understanding mil thickness (3 mil vs. 5 mil vs. 10 mil) is the single most important decision. It directly affects flexibility (3 mil) versus rigidity and durability (10 mil).
- Size matters for efficiency: Pay close attention to the “letter size” designation. These pouches are slightly larger than an 8.5 x 11-inch sheet to create a seal, so you’ll need to trim the edges or choose a smaller pouch for smaller documents.
- Clearing jams is doable: If a pouch misfeeds in your laminator, stop the machine immediately, unplug it, and gently pull the pouch free. Picking at it while hot can damage both the pouch and the machine’s rollers.
What Exactly Are Amazon Basics Thermal Laminating Sheets?
Simply put, these are pre-cut plastic pouches—think of them as oversized sleeves—that you place your document inside before feeding it through a heated thermal laminator. The pouch consists of multiple layers of plastic (usually polyester and polyethylene) with a heat-activated adhesive on the inside. When the pouch passes through the heated rollers of a laminator, the adhesive melts, the layers bond together, and the plastic seals tightly, permanently encasing the document.
It’s crucial to distinguish these from self-adhesive (cold) laminating sheets, which use a sticky backing to seal documents without heat. Amazon Basics thermal options are for use specifically with a heated laminating machine, which is the better choice for airtight, professional-looking, and highly durable results.
Why Choose 3 Mil vs. 5 Mil vs. 10 Mil Pouches?
One of the first things you’ll notice when searching these products is that they come in different thicknesses, measured in “mil” (a thousandth of an inch). This isn’t a marketing gimmick—it fundamentally changes the physical properties and best use cases for the finished laminated sheet.
- 3 Mil: This is the thinnest and most flexible option. After lamination, the document is still bendy enough to fold if you’re not careful, which is a downside. However, this flexibility makes it ideal for items that you might want to store in a binder, like multi-page reports, meeting agendas, or recipe pages you need to lay flat. They are also the most cost-effective for high-volume projects like creating countless flash cards or instructional materials.
- 5 Mil: This is the “goldilocks” choice for everyday use. It provides a noticeable stiffness, making the document rigid and water-resistant without turning it into a brick. A 5 mil pouch is perfect for restaurant menus, classroom signs, ID badges (when cut), reference charts, and shelf labels. It strikes the best balance between durability and price.
- 10 Mil: This is heavy-duty, industrial-grade protection. It results in a thick, extra-rigid card that resists bending and is virtually impossible to tear. Use this for items you handle constantly or that face harsh conditions, such as outdoor signs, safety notices, checklists for a garage workshop, and heavy-use materials for children.
Decision Criteria for Thickness
If you’re asking whether you should buy 3 mil or 5 mil, think about the end product. you need it to feel like paper but protected, go with 3 mil. you need it to feel like a card or a heavy-duty sign, go with 5 mil or higher. For general home, school, and office use, 3 mil or 5 mil are almost always sufficient. Stepping up to 10 mil without a specific need will just drain your budget and waste plastic.
How to Use Laminating Sheets Correctly: A Step-by-Step Guide
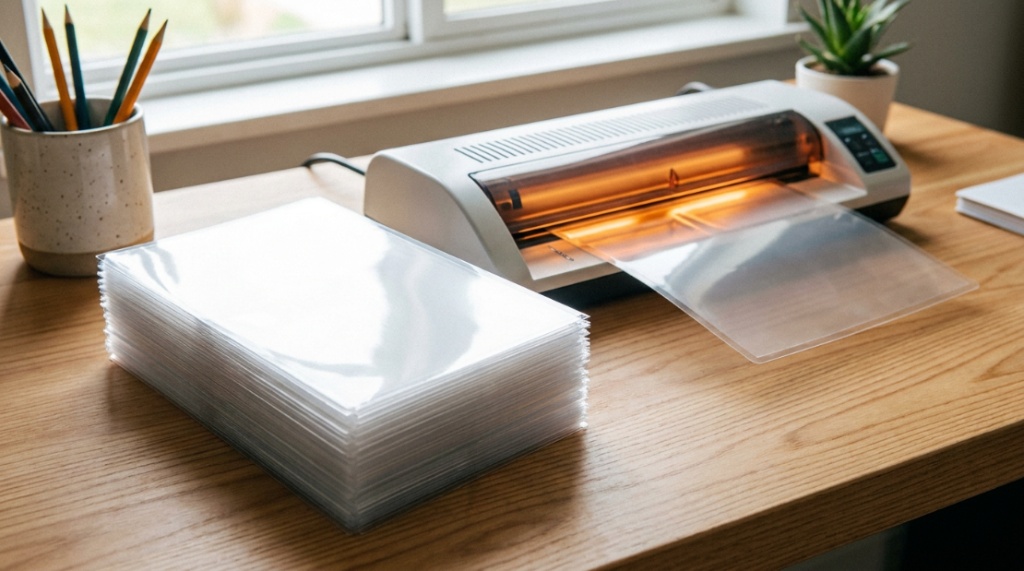
While the process is straightforward on the surface, there are a few steps you can take to guarantee perfect, bubble-free results from your very first attempt and avoid common pitfalls.
- Place the document inside the carrier: The pouches come with a sealed edge on one short end. Place your document firmly inside, ensuring it is completely flat and pressed against the sealed edge. Do not let any part of the document hang over the edges of the pouch.
- Use the carrier sheet (if provided): Many boxes of Amazon Basics pouches come with a thicker “carrier card” or folder. You place your document pouch inside this carrier before feeding it into the machine. This is not optional; the carrier prevents adhesive from leaking out and ruining your laminator’s rollers.
- Set the temperature: If you aren’t sure which setting to use, start with the medium setting or the “3 mil/5 mil” option on your machine. If you’re using 10 mil pouches, you may need to set the machine to a higher temperature or run the pouch through a second time.
- Feed the pouch straight: Slide the carrier with the sealed edge of the pouch leading into the machine. It’s crucial to feed it perfectly straight. If you feed it at an angle, the document might end up crooked or cause a jam inside the rollers.
- Wait for the cool-down: The pouch will come out extremely hot and flexible. Do not try to bend, cut, or stack it immediately. Place it on a flat, cool surface to allow the plastic to shrink and harden properly. Restacking hot pouches can cause them to stick together and warp.
Avoiding the “One-Sided” Lamination Mistake
Many people mistakenly believe they can place two documents back-to-back in a single pouch to give each one a plastic covering. This doesn’t work with thermal pouches. The adhesive will bond to the paper itself, exposing the print of one sheet against the other. To protect both sides of two different documents, you must use two separate pouches. This creates a double-thick, tough sheet for each document.
Evaluating the Value and Performance
When you search for office supplies, you generally find products on a scale from “cheap and unreliable” to “expensive and premium.” Amazon Basics products often carve out their own niche, aiming to deliver functional quality at a low price. However, when it comes to laminating pouches, there are a few trade-offs you need to understand to determine if they’re the right value proposition for you.
Pros of Using Them
- Price Point: They are almost always less expensive per sheet than brand-name office products.
- Performance: For standard home or light office use, they provide a clear, durable seal without hairline cracks or cloudiness.
- Availability: They are widely stocked by Amazon, making them easily accessible for fast shipping.
Potential Drawbacks
- Material Thinness Consistency: The plastic can feel slightly thinner or less substantial than that of premium alternatives like Scotch or Fellowes, even when the mil rating is the same. This is often due to the adhesive layer’s weight or the base material quality.
- Wavy Edges: Some users report that after lamination, there is a slight waviness at the unsealed edge of the pouch, particularly with lower-end machines or when using the 10 mil variant. This doesn’t affect the seal but can raise concerns about the product’s neatness.
- Compatibility with Heavy Lamination: If you’re looking to laminate tacky materials like chalkboard labels or printable vinyl, you may find that premium pouches have a higher temperature tolerance and better adhesive that prevent bubbles from forming underneath. The Amazon Basics version may require more precise temperature control to avoid blistering.
Practical Uses for Standard Letter Size and Smaller
You’ll often see these listed as “Letter” size, which is the most versatile for everyday tasks. The most common mistake is using these for documents that are already close to the 8.5 x 11-inch dimension, like a flyer you printed at the very edge of the paper. If a document is wider than the pouch’s inner cavity (which is roughly 8.5 x 11.2 inches), you will have trouble closing it without jamming. In this case, you should trim the paper down or shrink the document margins before printing.
While designed for letter paper, you can use them for smaller items like:
- Chore charts and calendars
- ID badges and name tags (cut the laminated pouch down to size)
- Game pieces and playing aids
- Signs for retail displays or events
- Reference sheets like periodic tables or keyboard shortcuts for your desk
Cutting and Sealing Edges Afterwards
If you do decide to cut down a laminated document to fit a smaller container (like a tag holder) or to just remove excess plastic, you must leave at least a 1/8-inch border of sealed plastic around the item. Cutting too close to the document will open a tiny gap in the seal. Over time, moisture and dirt can penetrate that gap and damage the paper inside, ruining the point of lamination,Before organizing your workspace materials and documents, make sure you understand office paper shredder features in ca to choose the right equipment for your business setup.
Is a Thermal Laminator Machine Required?
Yes. To use these pouches, you must have access to a thermal pouch laminator. They are not designed to work with an iron, a heat gun, or a “cold” laminating process. If you don’t own a laminator, I highly recommend checking the machine’s specifications to ensure it can handle the letter size (9 inches) sheet width. Once you have a laminator, these pouches become your basic consumable supply, similar to how a printer needs ink.
The upfront cost of a laminator usually runs between $20 and $60 for home use. Before purchasing a box of pouches, factor in whether you need to buy a new machine or if you already have one from a previous project. Laminating can become a permanent fixture in your office once you see how practical it is, but if you don’t have a machine, the pouches alone are useless.
Frequently Asked Questions
Can I run a pouch through the laminator twice to make it thicker?
Generally, you should not run a thermal pouch through twice. While you might think this would create a stronger bond, it actually causes the plastic to shrink and become brittle. It can also cause the plastic to wrinkle off the edge of the paper. For a thicker result, you should start with a thicker sheet (like 5 or 10 mil) rather than double-laminating the same document.
How do I remove air bubbles from a laminated sheet?
Thermal lamination relies on a dry, heat-activated adhesive that melts evenly. Bubbles usually appear because the document had dust or creases on it before lamination or because the temperature was too high. Once the pouch has been sealed and cooled, air bubbles cannot be removed. The best prevention is to ensure your document is perfectly flat and dust-free before you start the machine.
Why is my laminated sheet coming out cloudy?
Cloudiness is often caused by one of two issues: either your laminator isn’t reaching the minimum temperature required to completely melt the adhesive, or the rollers are not applying enough pressure. Check your machine’s temperature setting for the corresponding mil thickness. If the temperature is too low, the adhesive will not become fully transparent.
Can I eat off these laminated sheets?
No. Everyday thermal laminating sheets are not food-safe, and you should generally avoid direct contact between hot food and plastic-laminated surfaces. If you are making a dining placemat for children, you can place food on a plate over them, but the plastic itself is not rated for food-grade contact and can leach chemicals when hot.
What does “Letter Size” actually measure?
A “Letter Size” pouch is generally 9 inches by 11.5 inches. This is to accommodate a standard 8.5 x 11-inch piece of paper and leaves a 0.25-inch border around all four sides, so you have a sealed edge. If you are laminating a symbol or sign, you need to ensure it is no larger than 8.5 x 11 inches to fit inside the clear area.
Conclusion
Amazon Basics thermal laminating sheets offer a pragmatic and budget-friendly solution for anyone needing to shield documents from wear and tear. The trick is to not overcomplicate your choice. Consider what you are protecting: a simple checklist at your desk calls for a flexible 3 mil sheet, while a price list handled by customers every day calls for the rigid structure of a 5 mil sheet. They are easy to use, reliable in a standard home machine, and pose no risk of the document fading or tearing when done correctly. As long as you measure your materials accurately and let the finished sheet cool properly, you will find these pouches are a staple supply for years to come.
Sorry, the comment form is closed at this time.